Vertical geometry is one of those areas where small gaps in workflow knowledge can lead to frustrating edits, unpredictable behaviour, or unnecessary rework. To help streamline day-to-day work, here are five simple but genuinely useful techniques for managing vertical alignments more confidently in OpenRoads Designer.
1. Opening a Profile from Project Explorer
Most users open a profile by selecting the alignment and waiting for the profile icon to appear. That works, but it’s not the only method. You can also navigate directly to the alignment in Project Explorer and right-click to open the profile view. This approach is especially useful when the hover icon doesn’t appear or when working in busy models.
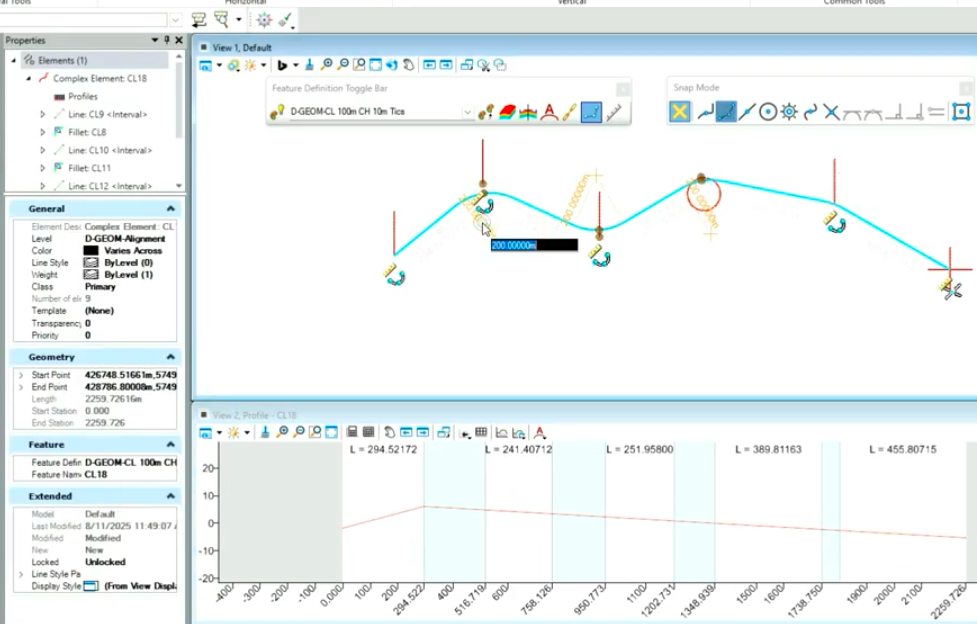
2. Placing Lines by Distance or Slope
When placing vertical lines, you can key-in the desired value and lock either slope or distance. It’s a simple but precise way to control vertical geometry without extra steps.
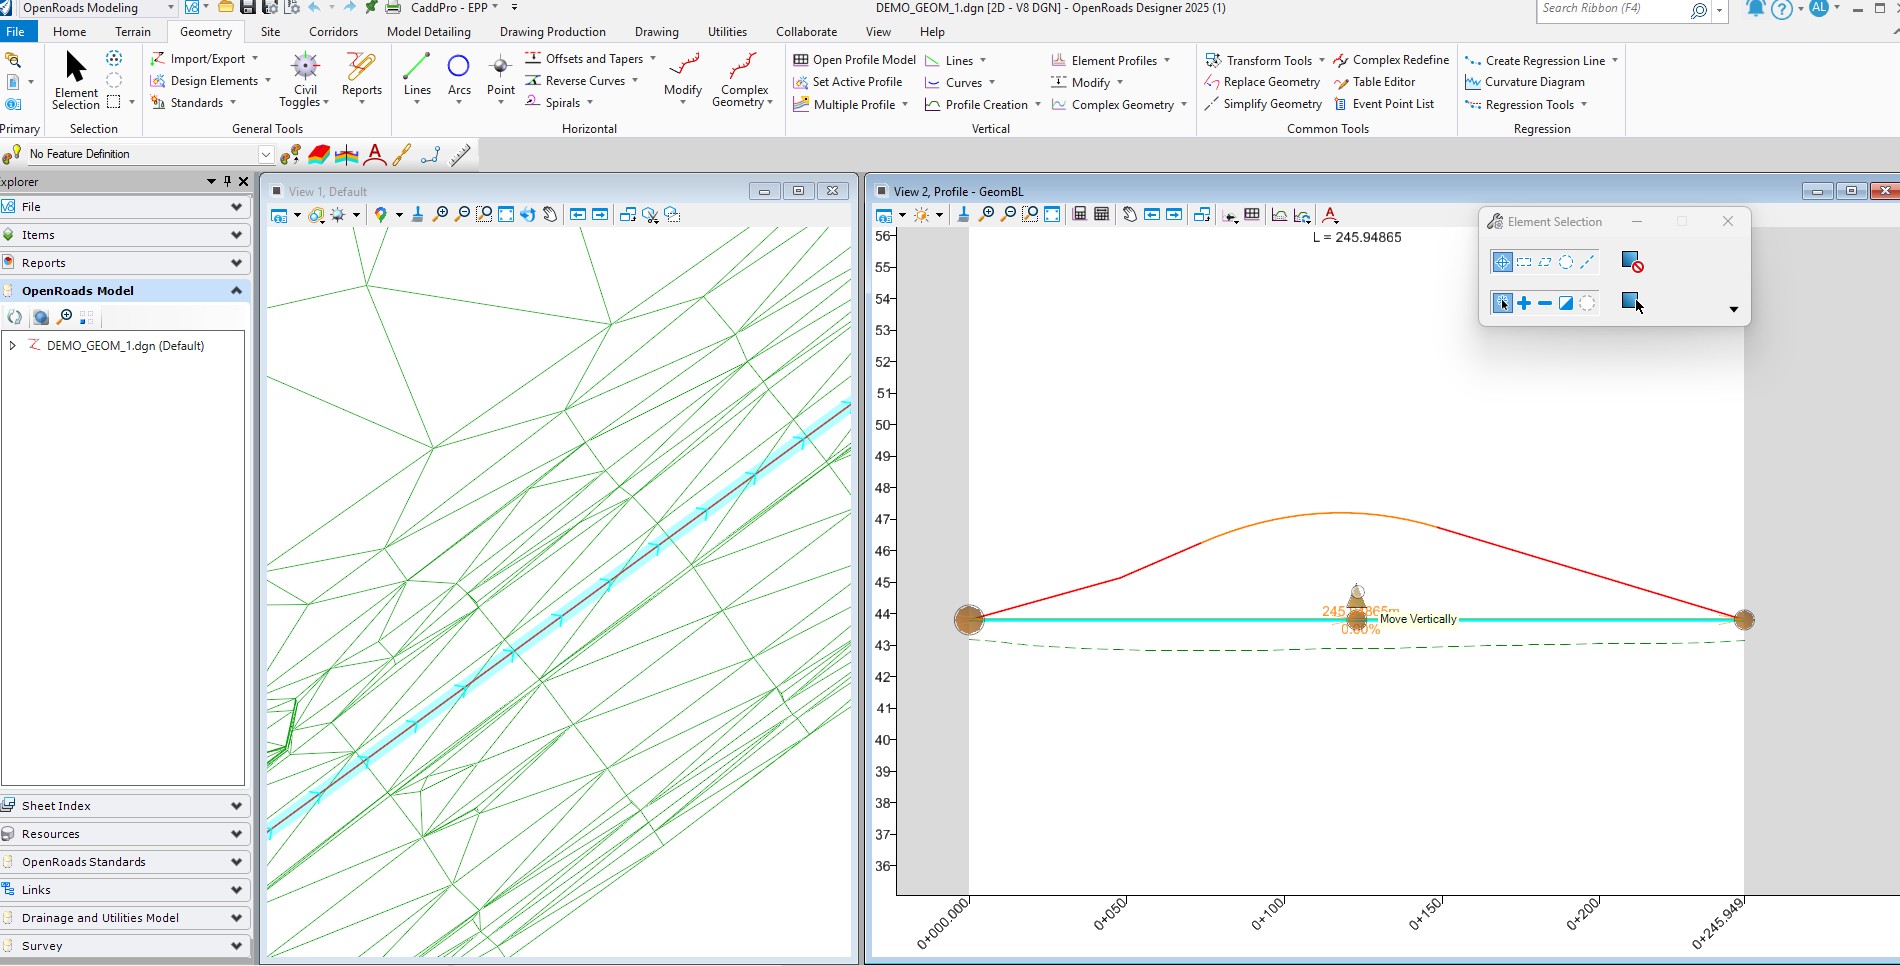
3. Ensuring Geometry Is Properly Connected
If modifying a vertex gives unexpected results, the verticals may not be fully connected. Complex them together, try the modification again, and use the table editor if needed. Once connected correctly, edits become predictable and stable.
4. Inserting a Vertex Graphically
Using the Insert Vertex tool from the Home tab allows you to place new vertices directly in the profile view. It’s quick, visual, and avoids unnecessary dialog navigation.
5. Matching Start and Finish RLs
For islands or any vertical loop that needs to begin and end at the same RL, place horizontal lines at both ends and move the relevant vertices to match. This keeps the geometry clean and consistent.
These small, practical techniques help minimise rework, reduce alignment issues, and keep vertical workflows efficient.
5 vertical alignment tips
Adam Lambert
Kirk Kulbe